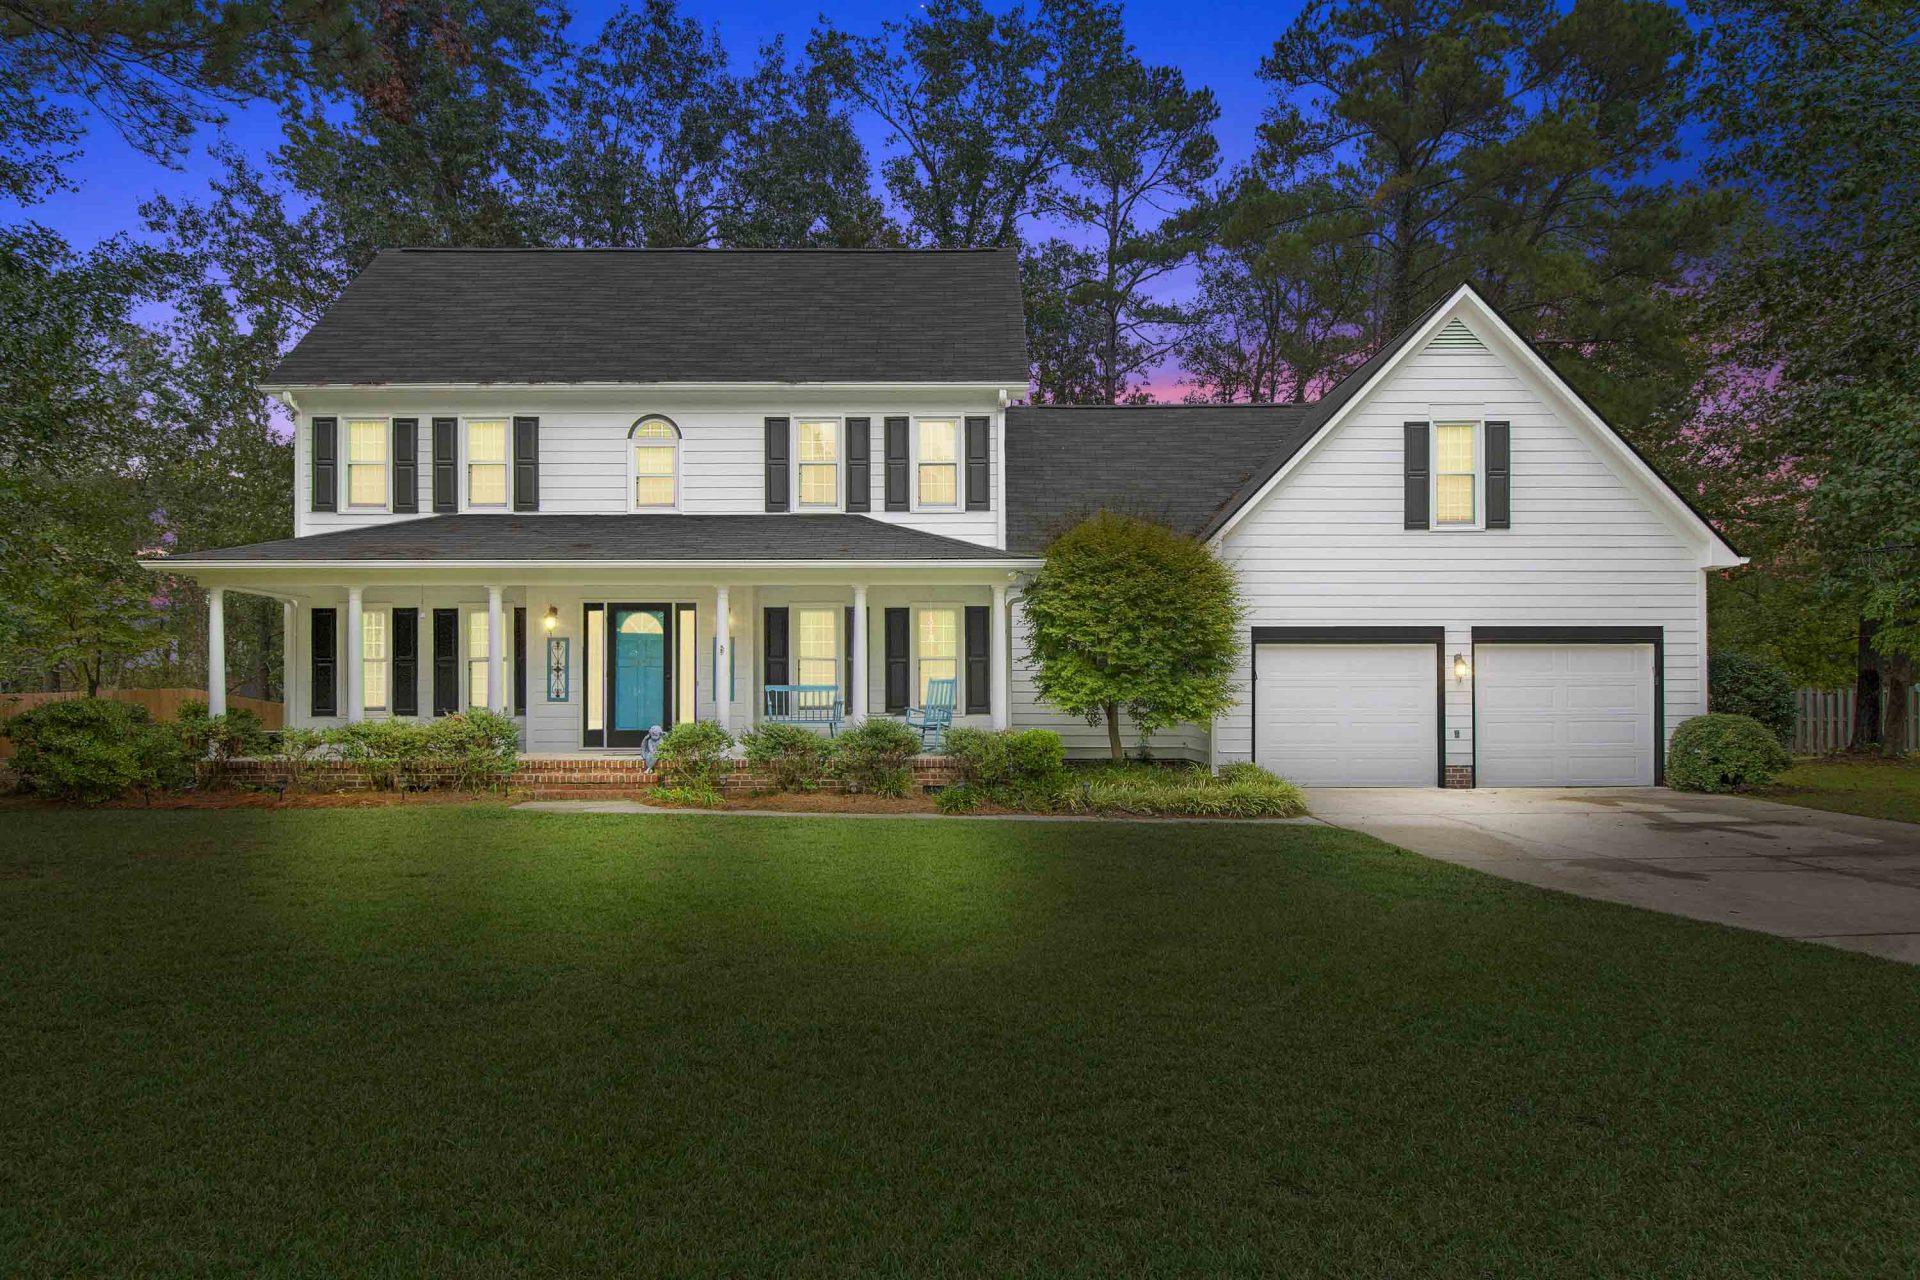
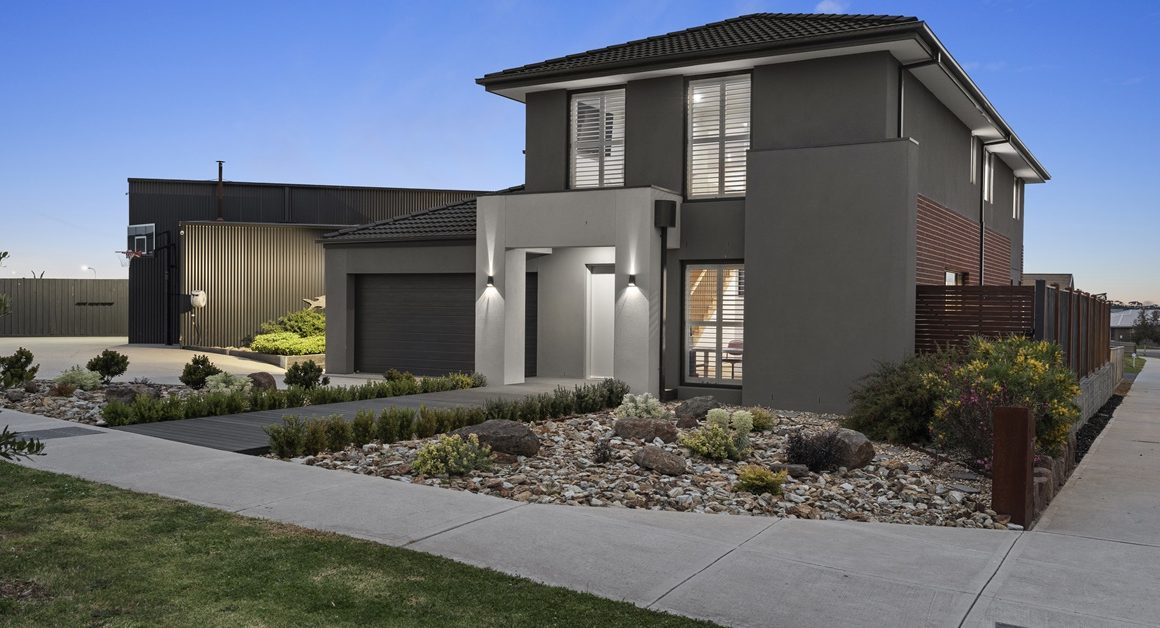
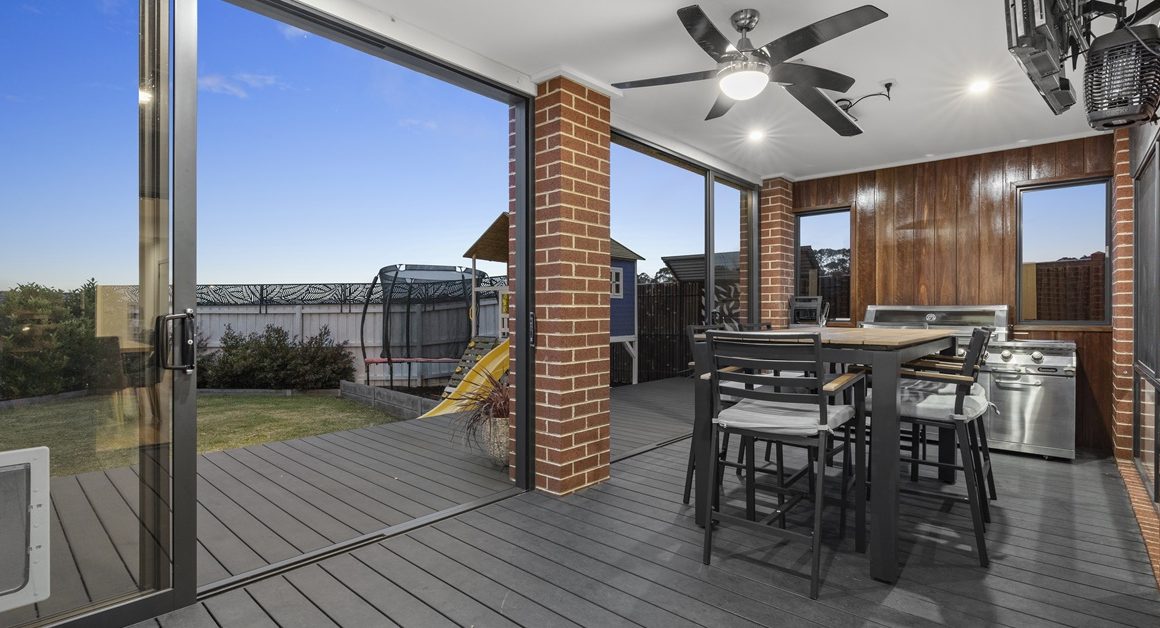
Now day to night conversion photo is a great option for all the realtors and house sellers. But photographers tend to avoid night photography. Historically, there were good reasons for this. Night photography was hard. You couldn’t see what you were doing because there were no LCD screens on camera. Every mistake cost you money in the form of film and processing. Even when digital cameras came on the scene, the low light performance in most cameras was so atrocious that it made it difficult to shoot at night.
But now, times have changed. Obviously, with digital, you can see exactly what you are doing and take as many test shots as you like. Cameras – and the low light performance of cameras in particular – have improved drastically in the last three to five years. Post-processing tools have come a long way as well, so now you can enhance your day to night photos a great deal.
One of our Qblends favorite methods to get a great looking nighttime photo is to shoot it during the day. We are certainly by no means the first person to do this, but I wanted to create this tutorial for anyone that wanted to try it.
1. Expose for the Editing Process
This is the most important part. If you expose this shot in camera the same way you would expose a normal daytime shot, then you are going to make it very difficult to edit it into a nighttime photo. Also, you probably have to be shooting in the raw format in order to make this look good. If you are still shooting in JPEG then you are only using a fraction of your camera’s technology. There are really only a few times when shooting in JPEG is a good idea and landscape photography is certainly not one of them.
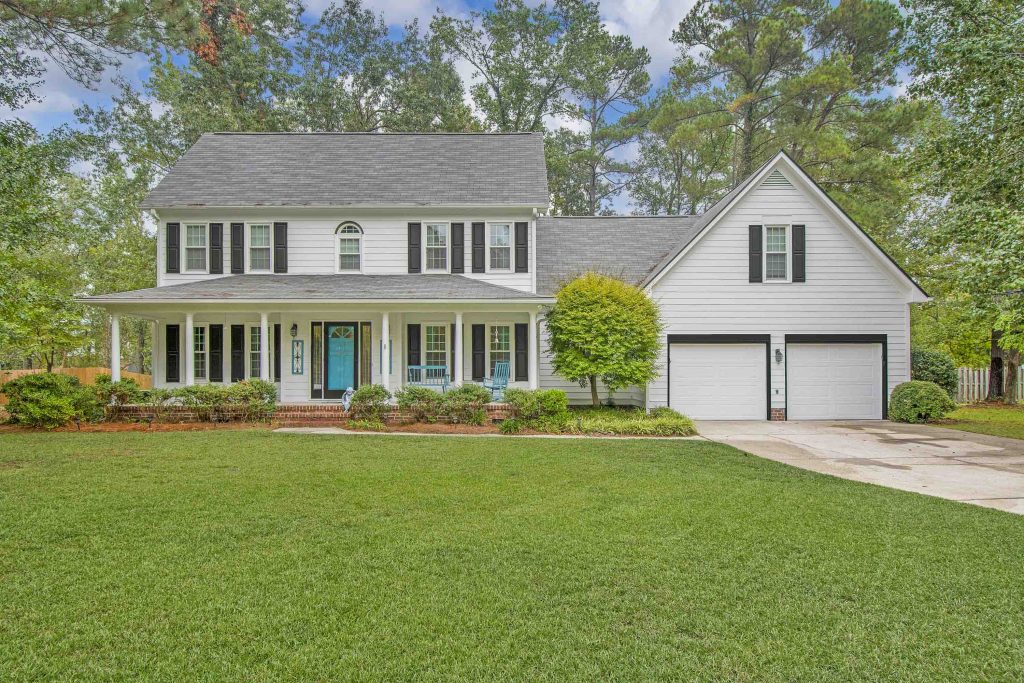
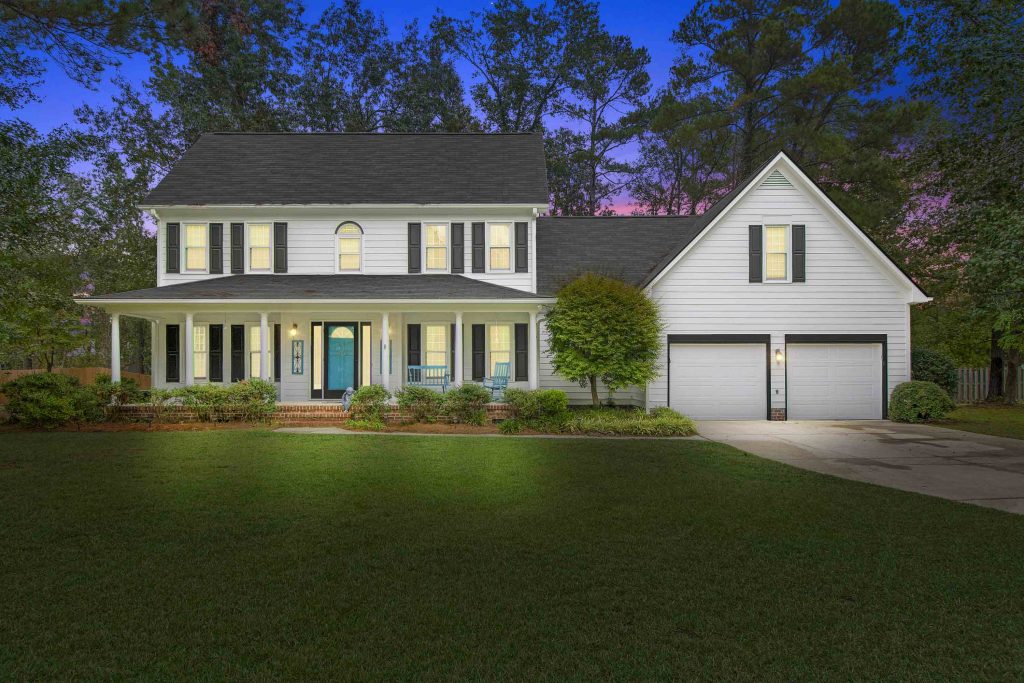
Best time to make the night photography
The best time to do this is late or early in the day. This will give you more interesting light and also make it easier to balance out the exposure between the dark and bright parts of the image. That being said, the image here was shot at about 1 PM, so it can be done at any time.
Along these same lines, try to avoid taking up too much of the frame with the sky (or avoid getting any sky in the frame at all). Even on overcast days, the sky will generally be too bright to be able to make it look like night time.
If you can’t avoid including the sky, you may be able to get around this by taking extra shots at much darker exposures and masking them in with Photoshop later. But that is a little off-topic for the current topic.
Next, you will need to underexpose the image slightly (without clipping big portions of shadow). The best way to get this right is by using the histogram in your camera. You want to get the histogram as far to the left as possible without having it go off the left side.
This may be contrary to other advice you heard encouraging you to do the opposite (also known as “expose to the right”). Remember, we want the final image to be darker than reality, so in this particular case, you want that histogram favoring the left side considerably.
Taking these things into consideration while capturing the image will put you in a good position to edit it properly.
2. Basic Lightroom Editing
We use Adobe Photoshop Lightroom as our raw editor. However, other raw editing programs will have many similar functions and allow you to get the same results. It is important to do as much of the editing as possible in a raw editor to avoid losing quality. The first part of editing in Lightroom is the global adjustments.
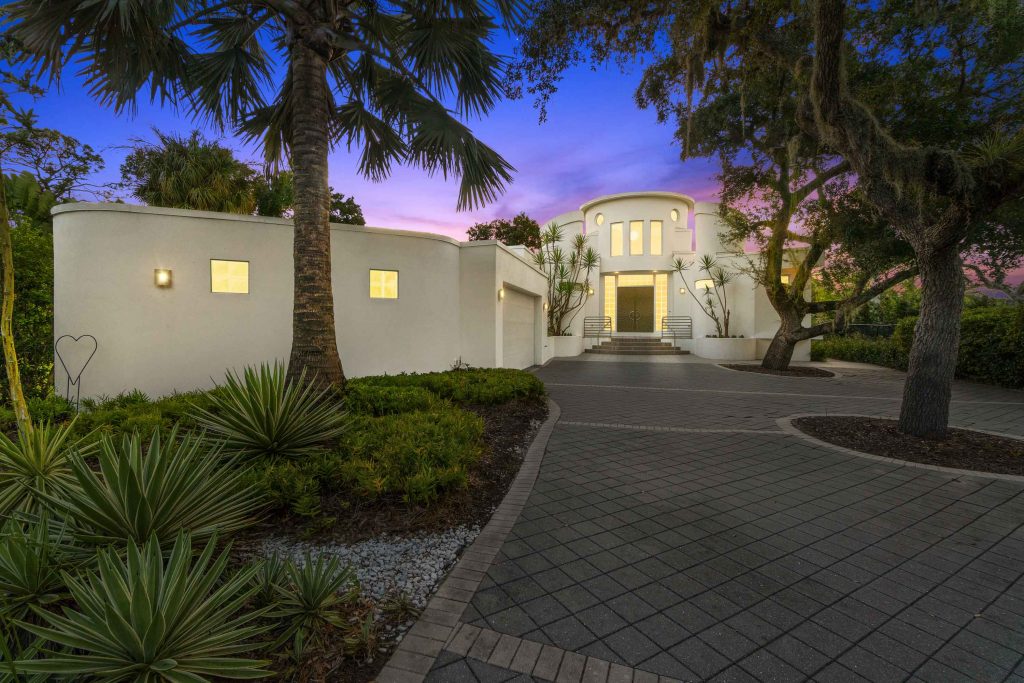
First, and probably obvious, is lower the overall exposure a few stops and lower the highlights until the brightest parts of the image look dark enough to pass for night time. Then you can raise up the shadows slider a bit until you have just enough detail in the darkest parts of the image.
I also like to make some small adjustments to the Blacks and Whites sliders depending on the image just to make sure all the detail in the darker parts of the image are discernible.
The goal here is to maintain the detail in the darker parts of the image while darkening everything else.


