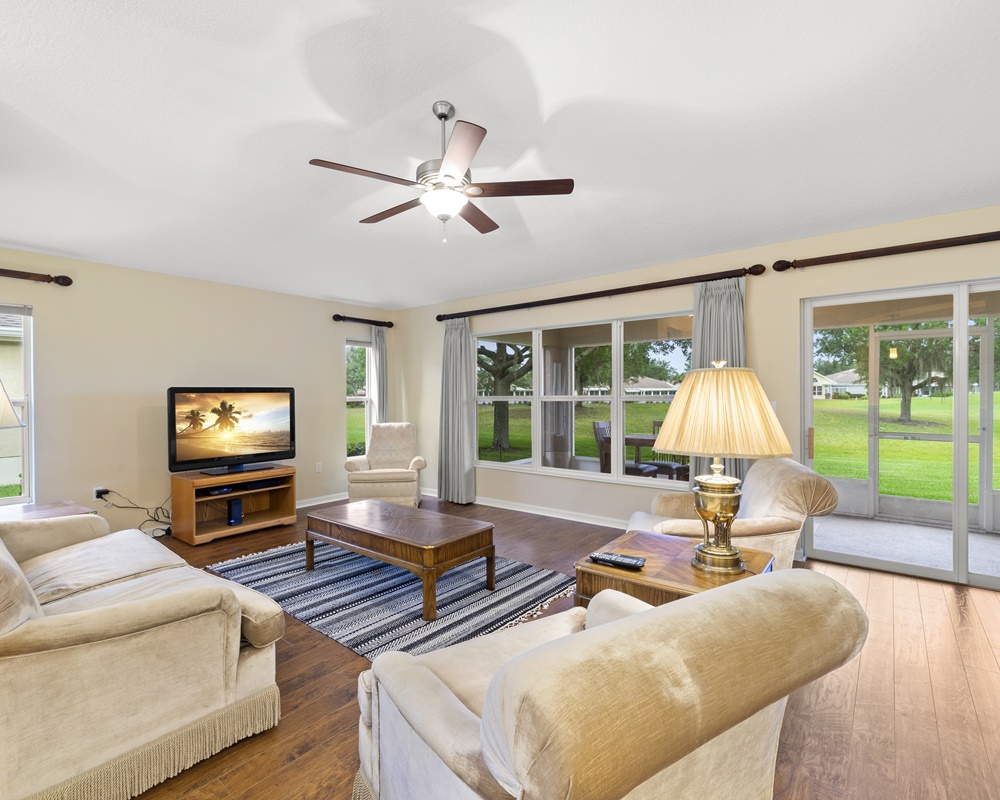
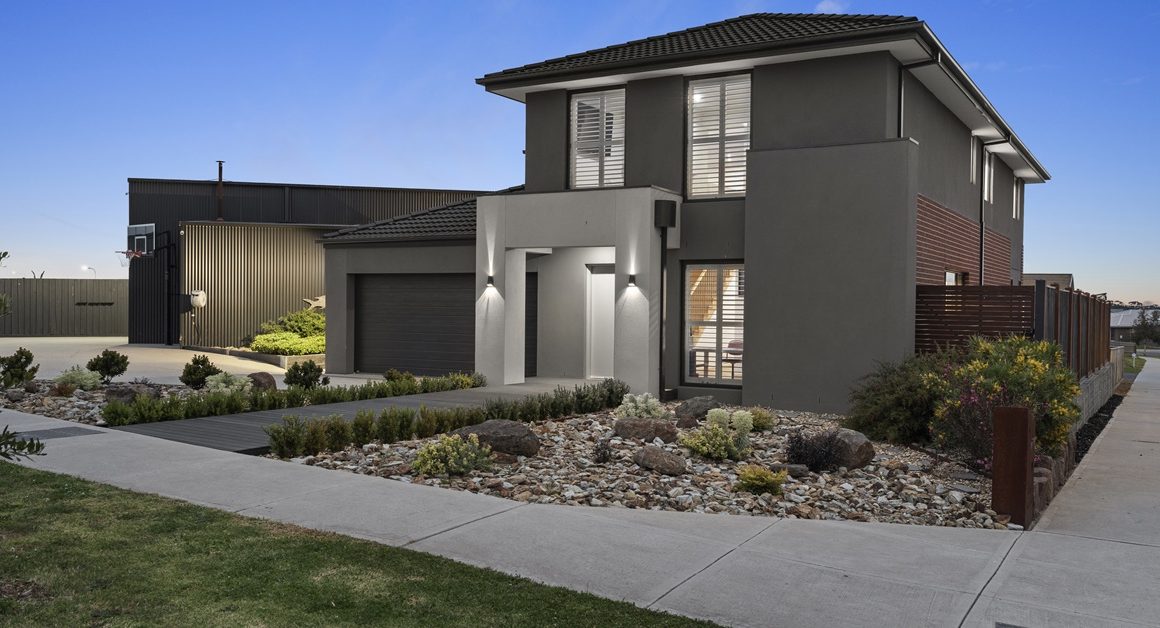
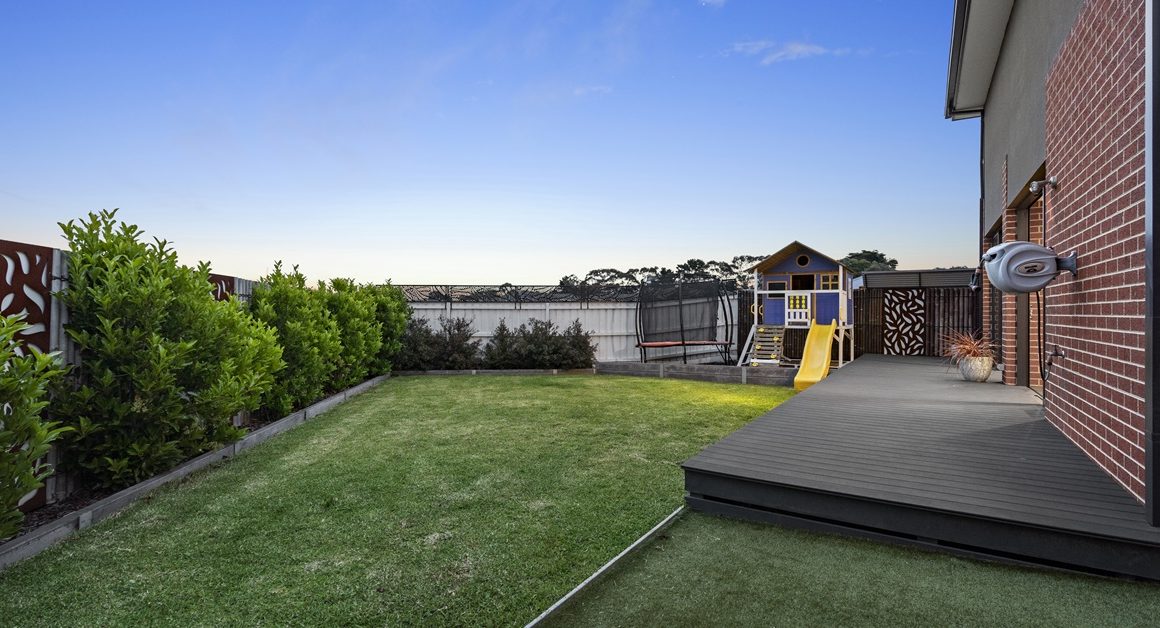
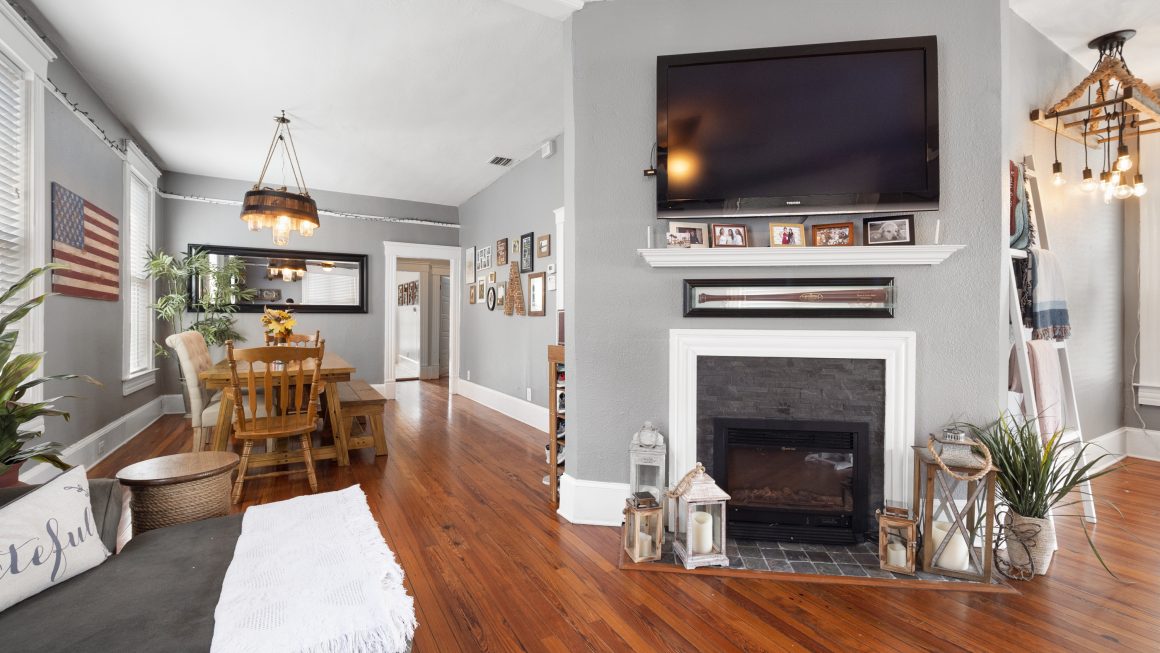
There are many professional platforms that support you to complete your real estate HDR photo editing process. If you do not outsource those images from editing company, you can learn these software and do it yourself. Here are some of these clevel software that allow you to enhance your images naturally and beautifully.
I. Lightroom for your Real Estate HDR photo editing
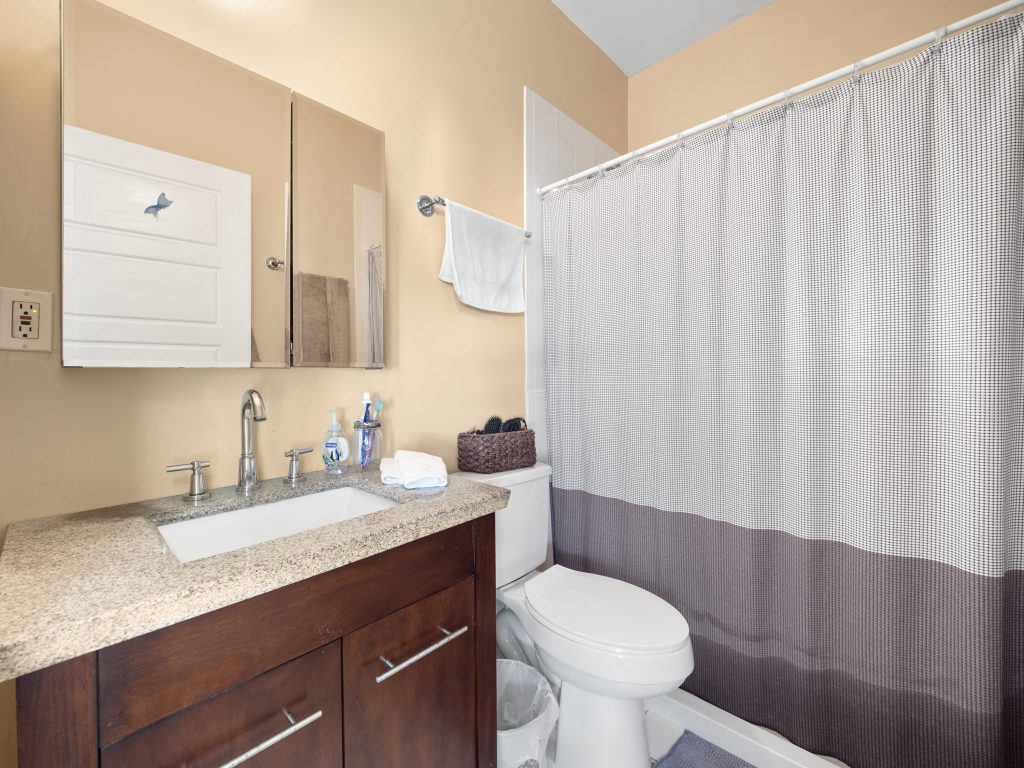
Adobe Lightroom is a spectacular platform that is designed to support many kinds of photography including real estate HDR photo editing. Check out these highlights of this platform to understand how to take advantage of this software:
- Lightroom is a professional software, that specially features all kinds of functions that photo editors need to produce natural-looking HDR images.
- It is one of the software that thousand of editors believe to use and it is totally free.
- This software provides you with many special functions that you need, including auto align which helps you merge these brackets of exposures easily.
- Lightroom is available to save the final HDR image in many kinds of files, including a DNG file. It is smaller but carries ample information just like RAW files.
Follow these steps to create mesmerizing real estate HDR photos using Lightroom.
How to Merge Photos for your real estate HDR photo editing process
Start your HDR photo editing process with Lightroom Classic. First of all, select the images.
Then you Right-click, go to Photo Merge, and select HDR.
These are the options for you to choose and use when it comes to merging HDR photos :
Auto Align: It is a special function that helps to frame your exposures. Sometimes, a shake in the camera will cause the images to move out of the frame. Using a tripod is a great way to get steady shots.
Auto Tone: This option will set a tone for your image to start the editing process.
De-ghosting: While clicking pictures for bracketing, if there are moving objects, e.g., a bird in the sky, then after merging, you can end up with a semi-transparent ghost of a bird in different spots across the sky. To fix this, Lightroom has a de-ghosting option, namely None, Low, Medium, and High. Start with low to fix minor movements in the picture, then move on to the others if necessary.
Click the Merge button once you are done. Lightroom will save the image as a 32-bit DNG file with -HDR attached to the file name. Now you can move on to fine tuning and image enhancement to bring out the HDR in photos.
Editing Exposure
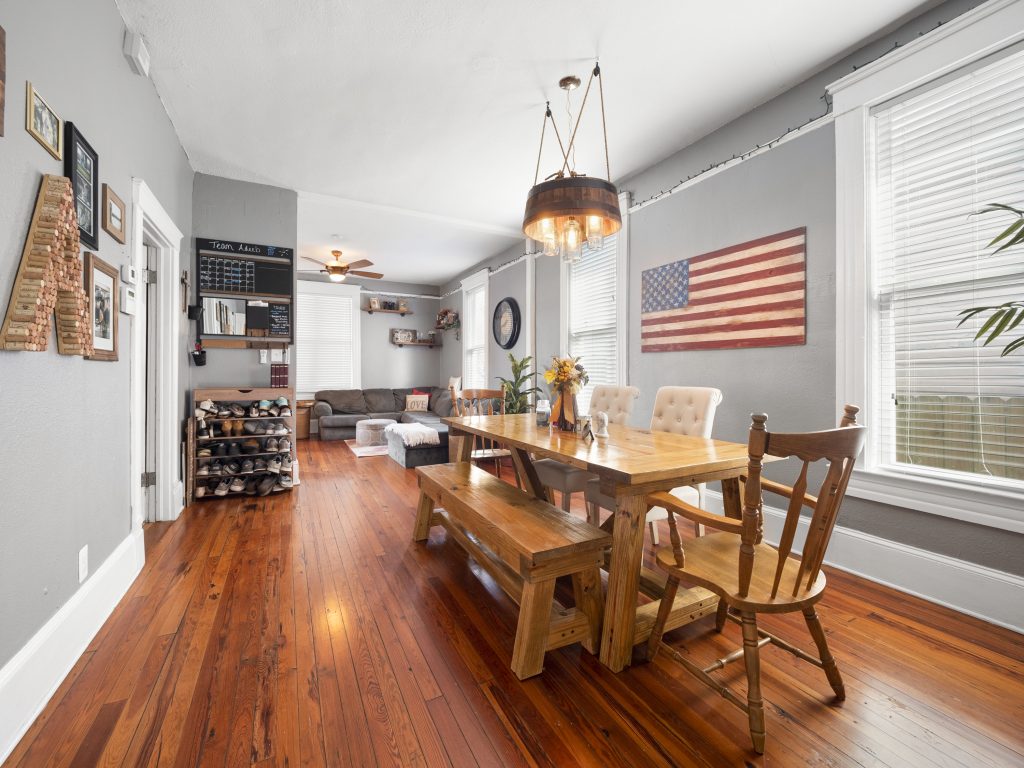
Lightroom is useful to edit this real estate HDR exposure based on the difference in brightness. As you know, exposure is the amount of light that enters the camera sensor when a picture is clicked. It is quite easy to edit the exposure with Lightroom. From the Develop section, drag the exposure bar and choose a number that strikes a midpoint between the light and dark points.
White and Black Balance
White and black balance is an important part of the editing HDR photos process. It is the way we adjust colors to match the light source’s color. So that the white parts of the photo appear white and the black parts black. Luckily, Lightroom have support you with auto functions that allow you to adjust them automatically. Just Double click on the terms white and black part of the image to set it. Another way you can do that by the hand-blending tool.
Editing Clarity
Lightroom has a special tool to help you enhance the clarity best. Do you know that clarity increases the contrast between middle tones, that help to bring out most of the details of the real estate images in midtone areas. Drag the clarity slider to enhance this quickly.
Vibrance
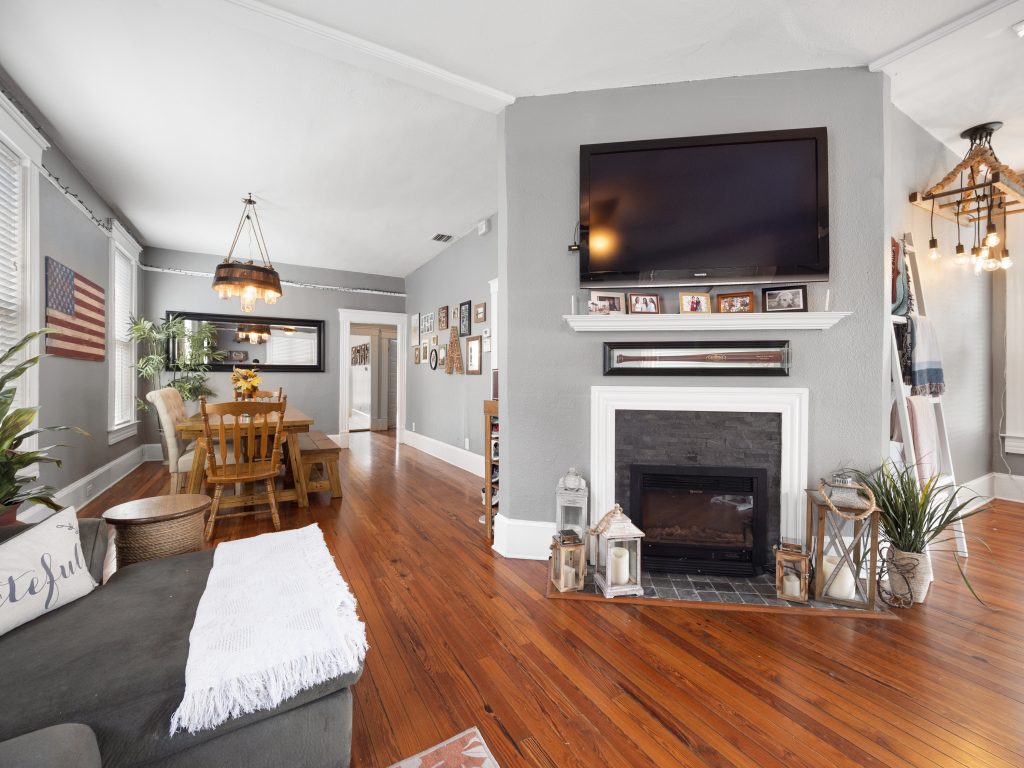
Vibrance is one of the most important features that highly recommend for the stunning of the HDR photo editing process. It cleverly increases the intensity of muted colors while leaving saturated colors alone. Thanks to this function, your real estate photo appear more natural and even and enhances the properties of HDR in photos. Bear in mind to adjust vibrance in Lightroom to bring out the rich colors images to showcase to your homebuyers.


